
Custom Laserable Plastic Sheet Manufacturer Tips for Perfect Laser Engraving
2026-06-28
Laser engraving on plastic can transform an ordinary project into something remarkable, but getting that flawless finish often depends on the material you choose. If you've struggled with melting, uneven cuts, or lackluster results, you’re not alone—many crafters and professionals face the same hurdles. That’s where custom laserable plastic sheets from LYSHIRE come in. Designed specifically for precision and consistency, they take the guesswork out of your work. In this post, we’ll share practical tips to help you achieve perfect engravings every time, without the usual headaches. Let’s turn your ideas into crisp, clean reality.
Picking the Ideal Plastic for Your Laser
When picking a plastic for laser work, it all comes down to how the material absorbs the beam's specific wavelength. Not every sheet labeled "plastic" will cooperate—some turn into a gooey mess, while others char or produce dangerous fumes. A good starting point is matching your laser type: CO₂ lasers handle acrylic and PETG beautifully, while diode and fiber setups often struggle unless the plastic has the right additives or pigments. Thickness matters too; something that cuts cleanly at 3 mm might warp or ignite at 10 mm under the same settings.
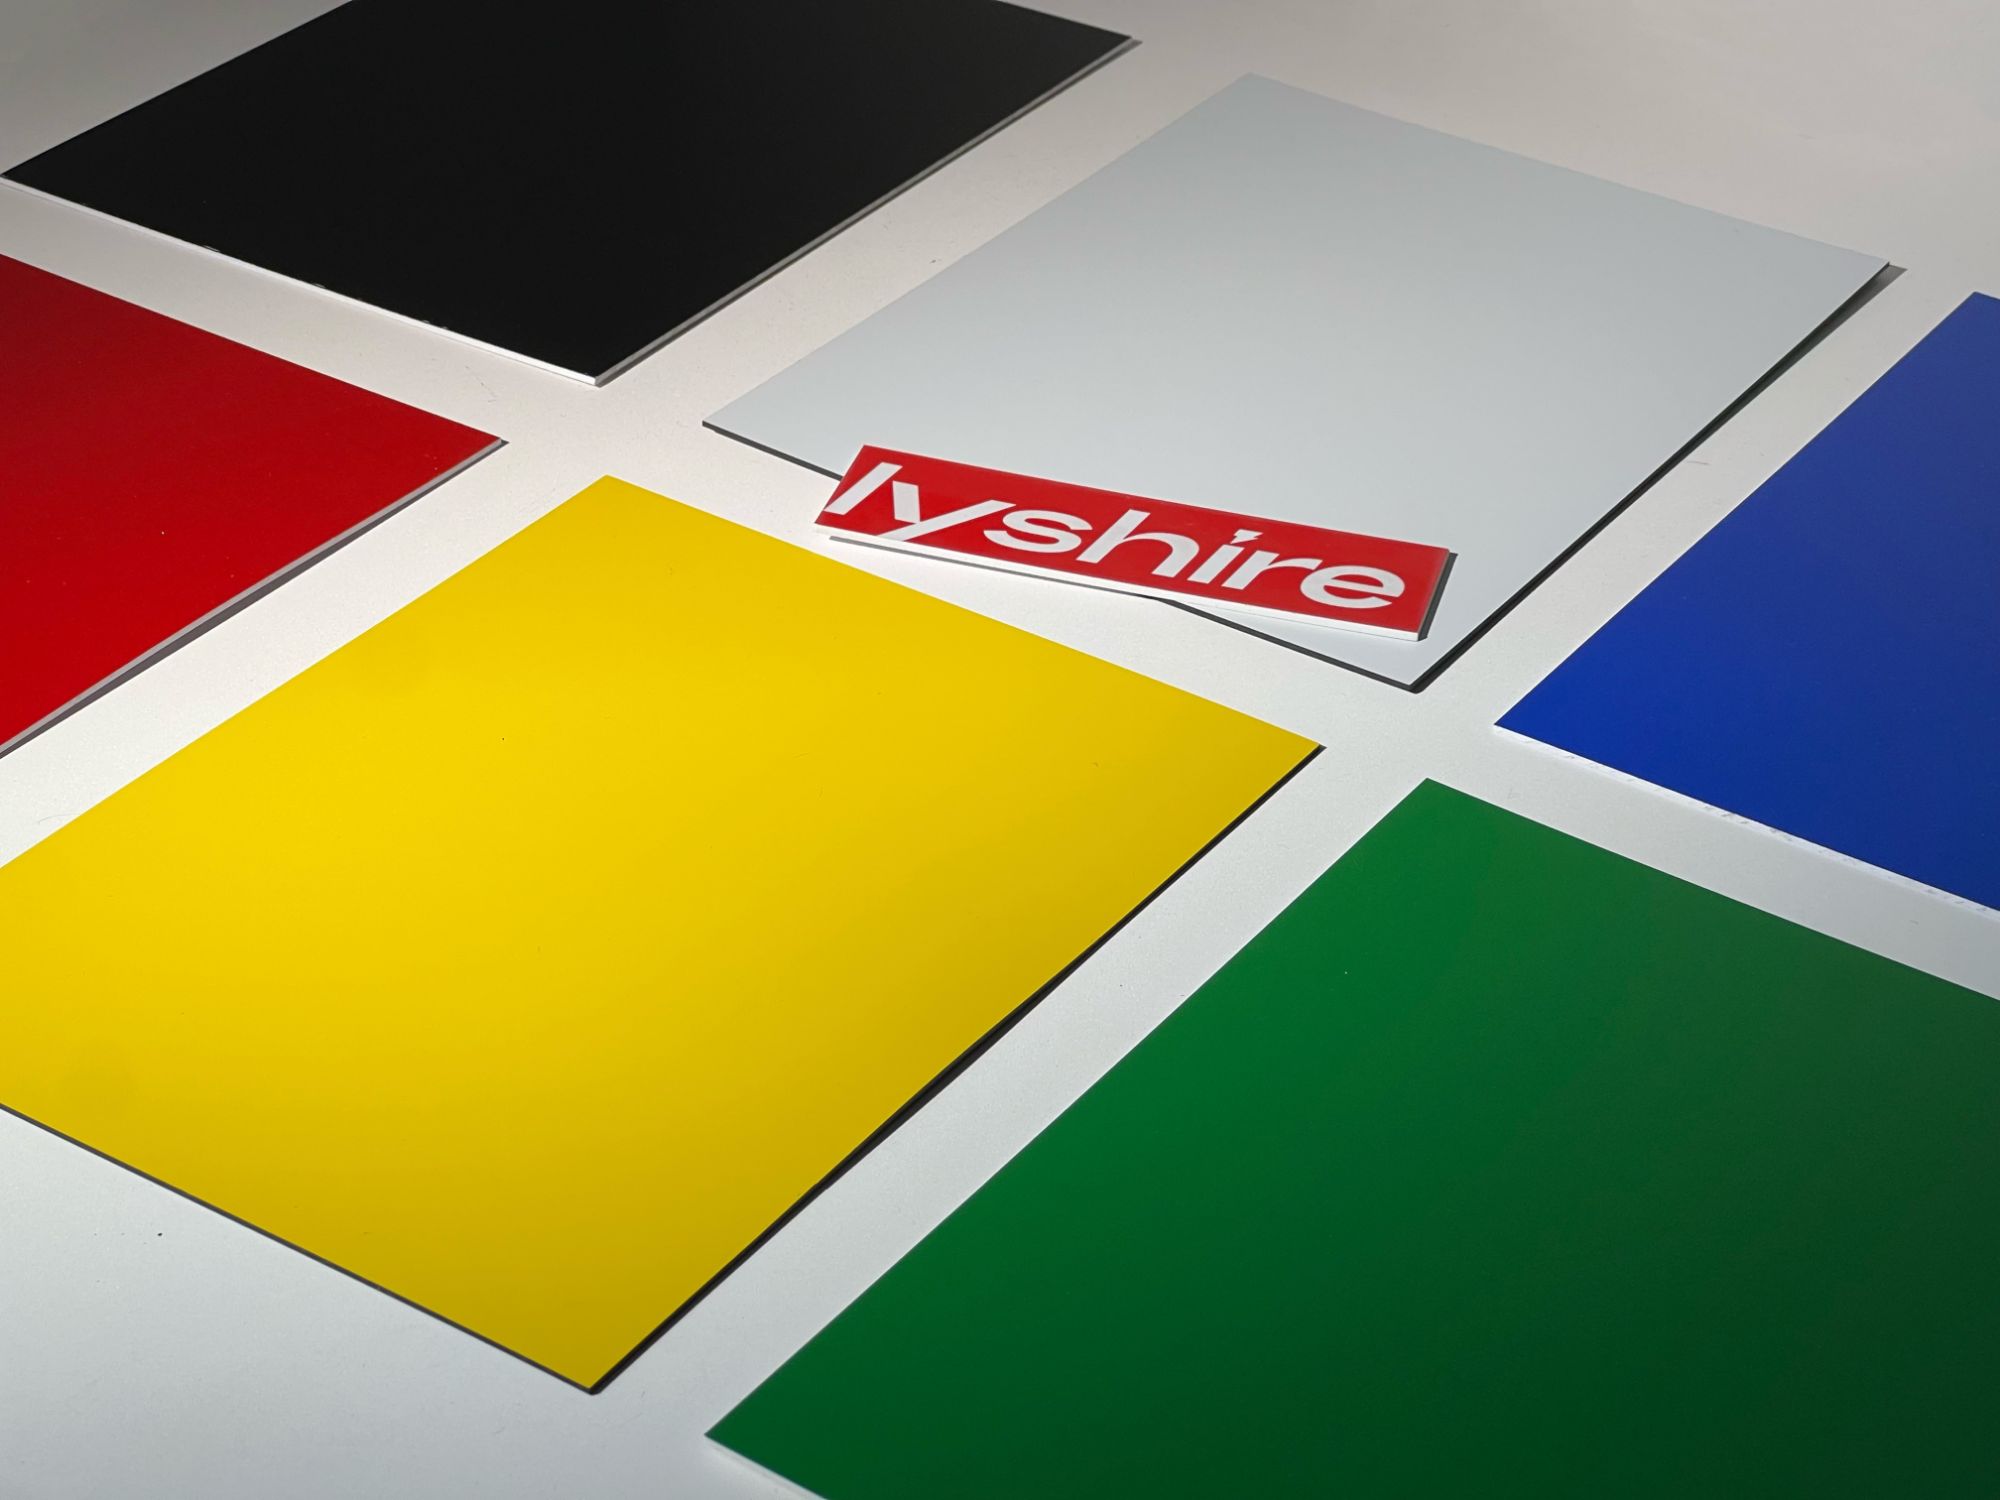
Acrylic remains a top pick for a reason, especially cast acrylic, which yields crisp, frosted engravings and flame-polished edges with minimal cleanup. Extruded acrylic tends to melt back onto itself, leaving a stickier edge, so it’s better for simple cuts rather than fine detail. If you need durable, moving parts, polyoxymethylene (Delrin) cuts with low friction and holds tolerances well, though it demands strong ventilation. For outdoor signage or rugged labels, layered plastics like Rowmark or IPI offer high-contrast engraving without painted infills.
Always check what you’re feeding the machine. Stay miles away from PVC—it off-gasses hydrochloric acid that ruins optics and human health alike. The same goes for vinyl stickers and artificial leathers that sneak chlorine into the mix. When in doubt, a flame test on a tiny scrap can rule out PVC (green flame = bad news), but your safest bet is buying from suppliers who label stock as laser-ready. Spending a few extra dollars on proven materials beats the cost of replacing a corroded lens or a smoked lung any day.
Setting Adjustments That Eliminate Ghosting
A lot of ghosting issues stem from refresh rate mismatches and overdrive settings that are too aggressive. Start by matching your monitor’s refresh rate with the frame rate your GPU is pushing—running at 60Hz when your game outputs 144Hz is asking for trouble. If you’re on a variable refresh rate display, make sure G-Sync or FreeSync is actually engaged in both the driver and the monitor OSD. Sometimes a clean driver reinstall resolves frame pacing issues that mimic ghosting.
Overdrive is the usual suspect that needs tweaking. Most monitors ship with it set too high, making pixels overshoot transitions and leave behind reverse ghosting or coronas. Cycle through the available levels while looking at a fast-moving test pattern, and pick the one where blur is minimal without introducing bright halos. On many panels, the middle setting hits the sweet spot. If your monitor lets you fine-tune response time per refresh rate, do that; a setting that works at 144Hz often falls apart at 60Hz.
Other quick wins include disabling any post-processing effects that add undesired blur, like noise reduction or dynamic contrast. Lowering your in-game motion blur setting can also clarify fast motion, though it won’t fix hardware ghosting. If you’re still seeing trails, try a different cable—a bandwidth-starved HDMI or DisplayPort connection can cause signal degradation that looks similar to ghosting in dark scenes.
Pre-Engraving Surface Cleanup That Works
Skipping a proper wipe‑down might not ruin your engraving right away, but it almost always catches up with you. Hand oils, dust, and leftover manufacturing film act like a barrier between the material and the laser, giving you inconsistent depth and hazy edges. The worst part? You often don’t realize it until the piece is already scorched and you’re staring at a ghost of what should have been crisp lines. A rushed pass with a dry rag just smears the gunk around instead of lifting it.
The handful of minutes you spend cleaning before switching on the machine is worth more than a full troubleshooting session later. A high‑purity isopropyl alcohol paired with a lint‑free microfiber cloth has yet to let me down. I dampen one side of the cloth to break down the grime, then follow immediately with the dry side so nothing resettles. For stubborn residue—think adhesive from protective sheets—a citrus‑based degreaser works wonders without leaving its own film behind. Just steer clear of anything that contains ammonia or bleach; they can react with certain coatings under heat and leave permanent stains.
After the chemical part is done, the surface needs to be completely dry. Even a thin layer of alcohol can flash‑burn when the beam hits it, marring the finish. I run my bare fingers along the piece, feeling for any slick spots the cloth missed. If you’re working with acrylic, static tends to pull airborne lint right back onto it—an anti‑static spray or a quick ionizing blow‑off fixes that. Finally, handle the material by the edges from that point on, because fresh fingerprints will show up just as clearly as old ones under the laser.
Design File Fixes for Sharper Details
Achieving crisp visuals starts with how you prepare your source files. It’s easy to overlook small settings that quietly eat away at edge definition—things like resolution mismatches, compression artifacts, or overlooked color profiles. Going back to the original design file and checking image DPI (at least 300 for print) and ensuring vector elements remain scalable can instantly recover lost detail. Even subtle adjustments, like switching from lossy JPGs to lossless formats during layout, make a visible difference in the final render.
Another common culprit is scaling that happens inside the design software rather than at the export stage. When you drag a corner to resize a bitmap, many apps interpolate pixels and soften sharp edges. Instead, place images at their native dimensions and use export presets that honor your intended output. For projects blending photos and text, re-link hi-res assets and avoid smart object conversions that flatten transparency too early—those steps help preserve the delicate balance between sharpness and anti-aliasing.
Before sending a file off for production or publishing, zoom in to 100% and scan key areas like logos, small type, and pattern boundaries. Look for fringing, moiré, or halos that often signal a fix is needed. Toggling overprint previews and checking separations can reveal hidden traps. A few disciplined checks on the original design file often prevent the soft, disappointing results that feel like a letdown after hours of work.
Handling Thin Sheets Without Warping
Working with thin sheet metal without warping is tricky, but a few proven shop-floor tricks make a huge difference. Start by sandwiching the material between two thicker sacrificial plates—this supports the sheet evenly and prevents the heat from concentrating in one spot. If you’re cutting with a laser or plasma, dial back the power and increase the speed slightly; the goal is to reduce the heat-affected zone. For CNC routing, use a down-cut bit and a vacuum hold-down if possible. Always double-check that your table slats or supports are evenly spaced, as any sagging can lead to uneven stress and immediate warping once the part is released.
Another method that often gets overlooked is stress relief before you even start. Thin sheets often come with residual stresses from manufacturing, so a quick heat soak at a low temperature—well below the material’s transformation point—can work wonders. When welding, skip the continuous bead and go for a backstep or stitch technique to minimize heat input. Also, don’t underestimate the value of letting the workpiece cool naturally between passes. Rushing the process or quenching can lock in distortion. Finally, if your design allows, leave tabs or bridges during cutting to keep the sheet stable, then clean them off as a secondary step.
Post-Engraving Touch-Ups for Long-Lasting Results
Even the most precise engraving can lose its crispness over time if you skip the post-engraving touch-ups. A quick pass with a fine abrasive pad or a touch of polish doesn't just refine the surface—it locks in the detail, preventing oxidation and everyday wear from dulling your work. This step makes the difference between a piece that looks good for a few months and one that stays sharp for decades.
Techniques vary with the material. For metals, a light application of jeweler's rouge followed by a gentle buff can work wonders, while wood might need a dab of beeswax to seal the grain. Glass or stone responds best to a dilute cerium oxide slurry, rubbed in with felt until the etched lines gleam. The goal is simple: close the pores and smooth out any micro-burrs left by the engraving tool, giving the finish a professional, lived-in resilience.
Don't overlook the value of a protective coating. A thin layer of clear lacquer or micro-crystalline wax can shield the engraved area from moisture, fingerprints, and UV exposure—common culprits behind fading and corrosion. Revisit the piece every few months for a quick inspection and a light reapplication. That little bit of upkeep turns a one-time engraving into a lasting legacy.
FAQ
The material's composition directly affects contrast and durability. For crisp, smoke-free engraving, opt for sheets formulated specifically for laser processing. We often suggest evaluating the sheet's color, thickness, and whether a multi-layer structure can help achieve a two-tone look without post-processing.
Thin sheets need lower power to avoid warping or full penetration, while thick ones allow deeper, tactile engravings. We customize thicknesses from 0.5 mm to over 10 mm, so you can dial in the exact depth for 3D effects or fine surface marking.
Start with high-contrast artwork and keep your lens spotless. Even a tiny smoke residue film can blur edges. We often include a protective masking layer on our laserable sheets to minimize residue buildup and preserve focal precision.
Beyond color and thickness, we offer matte or gloss finishes, micro-textured surfaces to reduce glare, and embedded color layers that reveal a contrasting core when engraved. Such built-in features eliminate the need for secondary painting or filling.
Find the sweet spot between speed and power — too slow and low can actually cause heat buildup rather than clean vaporization. Use good air assist to blow away heat and debris. Our sheets are engineered with laser-friendly additives that promote clean cuts and reduced charring.
They show up everywhere: industrial control panels, durable outdoor signage, personalized name badges, point-of-sale displays, and even architectural models. The ability to cut and engrave in one seamless step makes them a favorite for both production runs and one-off projects.
Wipe optics daily when running plastics, as outgassed fumes can coat mirrors quickly. Check the beam alignment monthly and replace exhaust filters on schedule. A clean machine paired with quality sheets means you'll spend less time troubleshooting and more time producing.
Combine vector scoring with raster engraving for textured fills. For small text, use bold, simple fonts and avoid excessive detail that might merge. On dark materials, a light burn can look subtler than deep engraving, so experiment with power settings to find the right visual balance.
Conclusion
Getting flawless results from laserable plastic sheets comes down to a handful of critical decisions that start long before the laser fires. Not all laserable plastics are created equal; look for sheets with consistent thickness and a cast rather than extruded surface to minimize internal stresses that cause uneven engraving. First, matching the plastic to your machine's wavelength and power is non-negotiable—acrylic and polycarbonate each behave differently under the beam, and picking the wrong one leads to scorching or faint marks. Dialing in settings to eliminate ghosting requires balancing speed and power: too much heat leaves shadowy halos, while too little produces patchy etching. Before engraving, wipe every sheet with a microfiber cloth and a mild solvent to remove static-charged dust and manufacturing residue that would otherwise scatter the laser's focus. In your design file, use high-contrast vector paths with carefully set line weights; fuzzy edges in the digital art translate directly to fuzzy edges in the final piece.
Thin sheets pose their own challenge: warping under heat. A honeycomb bed or pin table helps dissipate heat and keeps the material flat; lowering the laser's power and adding multiple passes can also prevent distortion. Once the engraving is done, don't neglect the finishing touches. A quick pass with a soft brush removes loose debris from fine details, and applying a plastic-safe polish or sealant locks in the look and protects against fading and scratches. For pieces that see heavy handling, a UV-resistant clear coat prevents yellowing and keeps the engraved area crisp for years. Taking these steps consistently transforms ordinary plastic sheets into branded, professional-quality pieces that last.
Contact Us
Contact Person: Tina Hou
Email: [email protected]
Tel/WhatsApp: +86 17816238685
Website: https://www.lyshire.com